
Publishing an App on Appstore? Submitting your app to the app store can seem to be a tedious task, so follow this guide on how to publish an app in Appstore to make things easy for you.
Seems a tedious and complex task, one would even consider leaving to the professionals. but, what if I tell you it isn’t that hard as you thought it would be, just a little filling up here and there.
After all, you made the app, this will surely be a cakewalk for you.
Now, it might be a little expensive, considering the hefty fee for the membership every year, but it has a bunch of benefits if you are willing to put in the investment.
The Apple Developer account costs 99$ for a yearly membership, but it has its privileges
- Ability to submit apps on all Apple devices in the Apple ecosystem.
- You can create Safari extensions, and even display them in the extensions gallery.
- Permission to use the Beta versions of Apple software
- Advanced App analytics and capabilities. This includes TestFlight.
Now, let’s get to the fun part, the publishing one.
The App should pass Apple’s App Store Guidelines
The App must not contain any objectionable content prior to submitting, and the developer must have a keen understanding of the contents of the App.
Also, be careful of renewing your developer’s license, otherwise, all your apps will be taken down.
The other prerequisites you need to take care of before publishing is –
- A computer that runs Mac OS X
- And The following programs installed:
- Xcode
- Keychain Access

Also be careful to test your App on various platforms across all App devices, as the rejection rate in Appstore is pretty high, so be wary of bugs and performance issues.
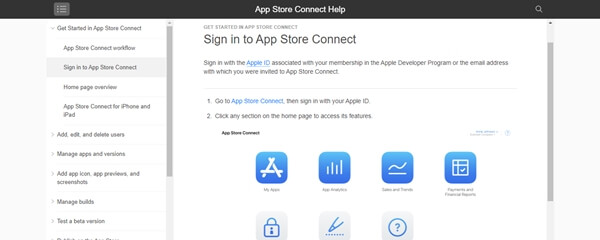
1. Login to the App Store Connect
- To publish an app, go to the My Apps menu and select the “+” option to create a new app.
- Now upload the Bundle ID: the one created on Developer Portal before.
- For the sake of convenience, make the SKU { Stock keeping unit} match the Bundle ID created before.
- Now, you have made your first App Store listing.
2. Configure your app for distribution with the appropriate information.
In this stage, you have to fill in the necessary info for the users to understand before they install your application.
This will include the following-
- App name and Category
- Updating the App Privacy Policy by providing your Website URL
- App Pricing
- App release options
- Screenshots- You need at least one for every Apple device screen. The screenshots cannot be transparent.
- Rating- Generate your rating based on the questionnaire
3. Make your Release Build and Upload
Before you run along and upload your App, you have to first modify using Xcode.
We will give you a quick walkthrough of what you should do.
- Firstly, Update the version and “Build Numbers” of your App.
- Go over to Build Settings and select all the options
- Update provisional profile and code signing you created earlier.
- Don’t forget to select the Generic iOS Device as the build destination if no actual device is available to connect.
- Go over Menu >> Project >> Archive
- Finally, tap Distribute, to finish it off.
- Now you can log-in to your Apple Developer account, to upload the file
- That you exported using Xcode. The Appstore Connect will now need some time to process the Build.
4. Submit your version for official review
You can now click the “Submit for Review” button which can be found in the “iOS App/Prepares for Submission” section.
After that, you have to answer the Export Compliance, Content Rights, and Advertising Identifier questions.
The review process will take anywhere from a few days up to a fortnight. It varies from App to App. Apple says that almost half of the apps are reviewed within a day, and over 90% are reviewed within 2 days.
As mentioned earlier, the Appstore has a relatively high rejection rate, and if your app is by any chance rejected, you will be notified via email. You also have the option to appeal if you think your app was wrongly rejected.
5. The moment you have been waiting for- App Release
If your app has been approved, the status will show “Ready for Sale” unless you have selected manual release, in which case you have to release it yourself.
The app will be visible in the App Store in a few hours since being released. You can now search for the App in the search results.
Now, when your app is on the App Store, you can monitor it using the Analytics tab.
The type of insights you can have are-
- Number of users
- Session times
- Sales,
- Crashes and Bugs
Final Take by Tecvalue
Congrats on publishing your app on Appstore.
Now you can join the other 22 million Apps to compete and conquer the App rankings.
[ I didn’t mean to discourage you by instilling such a far-fetched dream ]
The journey to a long road for App development only begins when you have published your app on Appstore. You must keep on refining the User Experience for your app every now and then, to make it more appealing and smooth for the users to enjoy using your app. Also, read our article on How to publish App on Play Store.
Let us know your experience with the App Store in the comments section below.