

When you send someone a screenshot of the entire screen, they may not understand where to focus. To ease communication, you can draw arrows to highlight the focal point, so that people get a sense of direction and better understand what you’re talking about.
This guide covers how to add arrows and similar modifications to your Mac screenshots.
How to Add Arrows To A Screenshot on Mac
You can take a screenshot on your Mac by holding these three keys together: Shift, Command and 3. By default, your captured screenshots are saved to the desktop.
You can add arrows and make other edits to your Mac screenshots through the in-built Preview Application. However, if you fancy using a dedicated app to edit your screenshots, we’ve got you covered.
First, we take a look at how to add arrows to a Mac screenshot using Preview App.
Add Arrows To your Mac Screenshots:
1. Open the image using the Preview application.
2. Click on the Toolbox icon located at the top-right part of the window.
3. Click on the “pencil” icon underneath the Menu Bar of the preview app window.
4. An annotation menu will appear with a bunch of symbols.
5. Select the arrow-like symbol and now you should be able to add arrows to your screenshot.
NOTE: The feasibility of this method depends on your device’s OS model. Below we have covered a more up-to-date method to add arrows to your Mac screenshots.
Add Arrows To your Mac Screenshots using Markup
1. Open the image using the Preview application.
2. Click on the Show Markup Toolbar option located on the top-right of the window. A drop-down menu with a list of editing tools will appear.
3. Click on the Shapes icon. It resembles a circle overlapping a rectangle. A drop-down menu with a list of shapes will appear.
4. Select the arrow-like symbol and now you should be able to draw arrows on your Mac screenshot.
Third-Party Apps to add arrows to Mac Screenshot
If you wish to stray away from the vanilla methods and instead, want to opt for a dedicated app to capture and edit your screenshots then check out these curated apps:
PhotoScape | Tecvalue Recommended
PhotoScape is a fun and easy photo editing software that enables you to edit, fix and enhance your pictures and screenshots.

It comes in both a Free and Pro version. However, you don’t really need to opt for the Pro(paid) version. The features of the free version is more than enough to suit your screenshot editing needs.
Visit the official site of PhotoScape here: PhotoScape X
Snappy
Snappy is an impressive screenshot tool with a plethora of advanced utilities. It’s almost hard to believe that it’s free given the list of features that it packs.
It was designed to take quick captures (known as snaps) and organise them into groups for you.
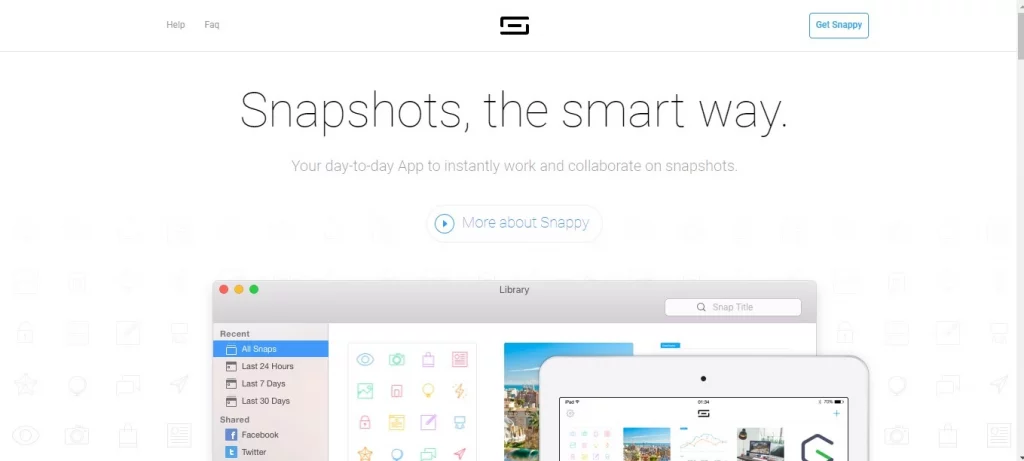
Annotation, sharing, iCloud sync, and password encryption are all added features of Snappy.
Visit the official site of Snappy here: Snappy
Monosnap
Monosnap is a free snapshot application that lets you annotate photographs as soon as they’re taken.

You can save your screenshots as JPGs or PNGs, or export them to third-party tools like Photoshop or Gimp.
Visit the official site of Snappy here: Monosnap
End Note
Taking and editing screenshots on your Mac is easy if you know the right steps. The in-built Preview application by Apple is well designed and comes packed with quite a lot of features. Adding arrows is barely scratching the surface of what it has to offer.
If you still feel that something is missing, you are always free to opt for any of the listed third-party apps. They are guaranteed to be useful to you.
Have any queries? Comment down below!