

Like every other version of Windows we have had in the past, Windows 10 and 11 are heavily reliant upon cached data and temporary files to improve the performance and responsiveness of applications and programs on subsequent usage. However, with time, these non-permanent files can take up a lot of storage space on your PC, affecting data transfer speeds by a significant margin.
For optimum system maintenance, it is advisable that you free up a considerable amount of disk space by removing these temporary files at periodic intervals. To get yourself acquainted with the entire procedure, the following sections of this article will include a comprehensive list on how to delete cached data and temporary files in Windows 10/11 without the need for any third-party applications.
Make sure that you go through the entire article to gain a better understanding of the different types of cache files stored in your Operating System. Without further ado, let’s get started!
1. Clear Cache and Temporary Files in Windows 10/11 from the Settings App
To remove pre-existing application cache and temporary files from the Settings app in Windows 10/11, follow the steps listed down below:
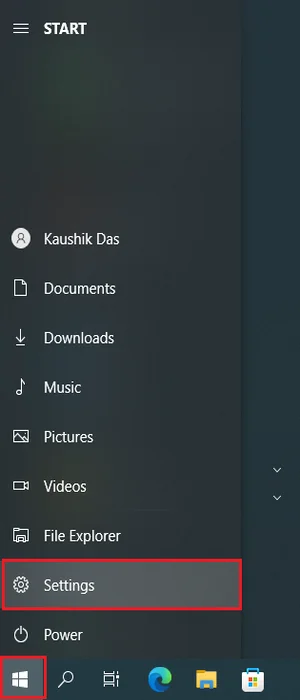
Step 1: From the Home Screen, click on the Start button and then on Settings. Alternatively, press the Windows+I keys on your keyboard to open the Settings app.
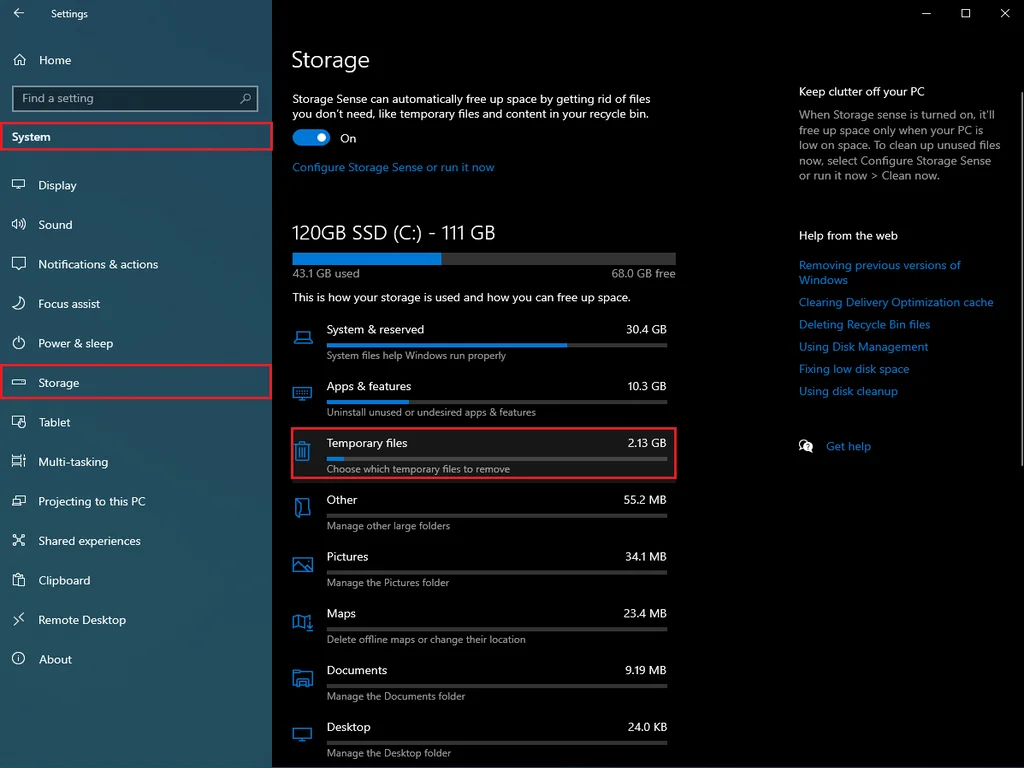
Step 2: Navigate to System>Storage and click on Temporary files.
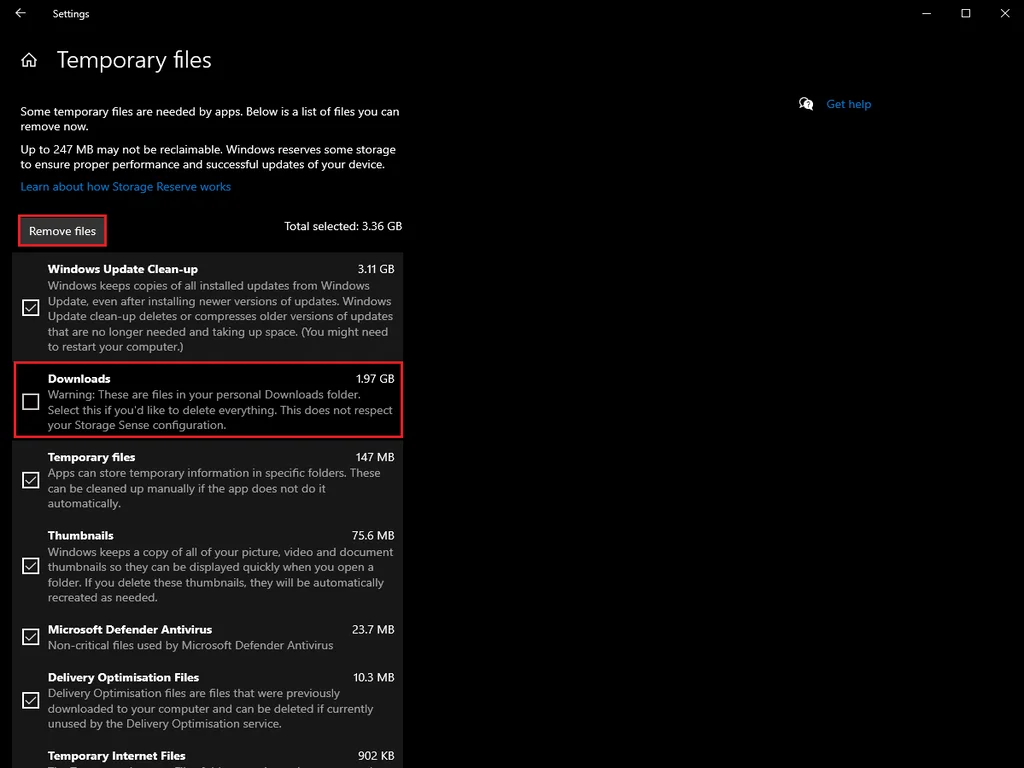
Step 3: Windows 10/11 will take some time to process and list all the cached data and temporary files stored on your PC. From the available list of options, uncheck the Downloads folder and click on Remove files to delete them permanently.
On an additional note, refrain from removing essential files present inside the Windows Update Cleanup option if you’re planning to roll back to a previous version/update of Windows.
2. Clear Cache and Temporary Files in Windows 10/11 using Disk Clean-up
The Disk Clean-up program is an extremely useful tool in Windows that allows you to remove unnecessary cache and temporary files from multiple drives. To perform such an action in Windows 10/11, follow the steps listed down below:

Step 1: From the Home Screen, click on the Search Bar or press the Windows+S keys on your keyboard.
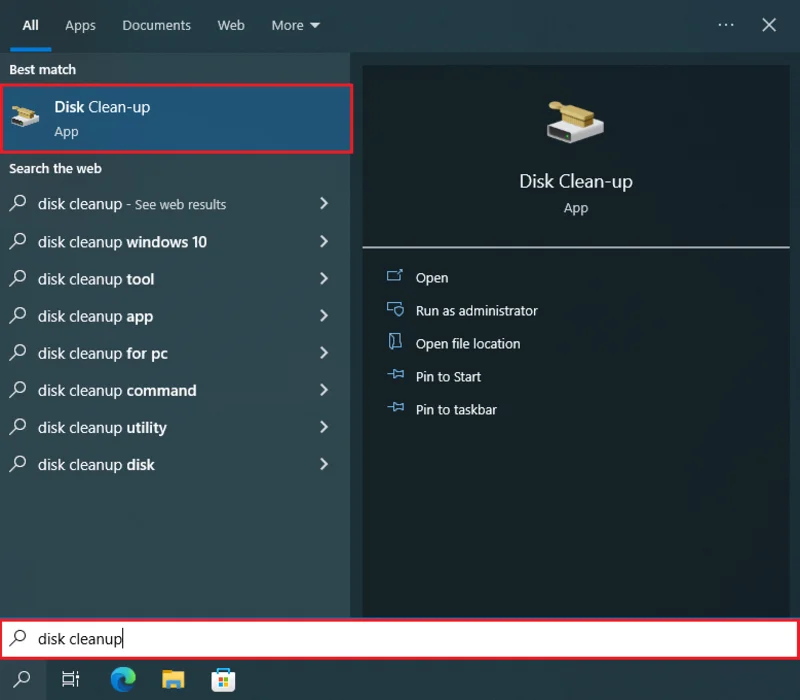
Step 2: Type disk cleanup in the Search Bar and hit Enter.
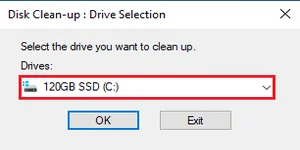
Step 3: A new pop-up window will appear. Choose the drive where the Windows Operating System is installed and click on OK. For most users, it should be the C: drive.

Step 4: From the Disk Clean-up window, click on Clean up system files.
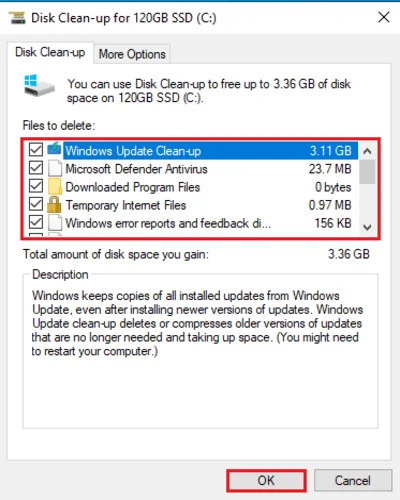
Step 5: Scroll down and select all the cached items that you want to remove entirely from your PC. Click on OK to initiate the clean-up process.
3. Clear Application Cache in Windows 10/11 from the Temp Folder
Most applications and programs in Windows are responsible for storing cached files inside a temporary folder, also known as the Temp folder. Since there isn’t an automated process to clean up the cached data for a specific application in Windows 10/11, follow the steps listed down below to get rid of these temporary files entirely from your PC:
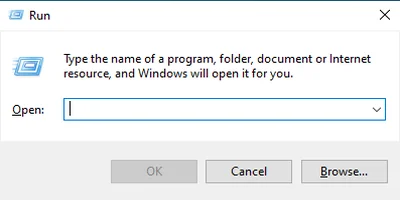
Step 1: From the Home Screen, press the Windows+R keys on your keyboard to bring up the Run command window.
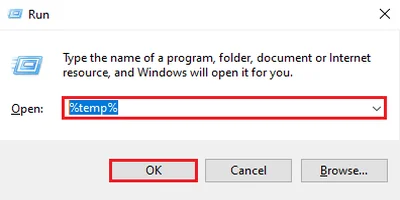
Step 2: Type %temp% in the Run command window and hit Enter to open the Temp folder.
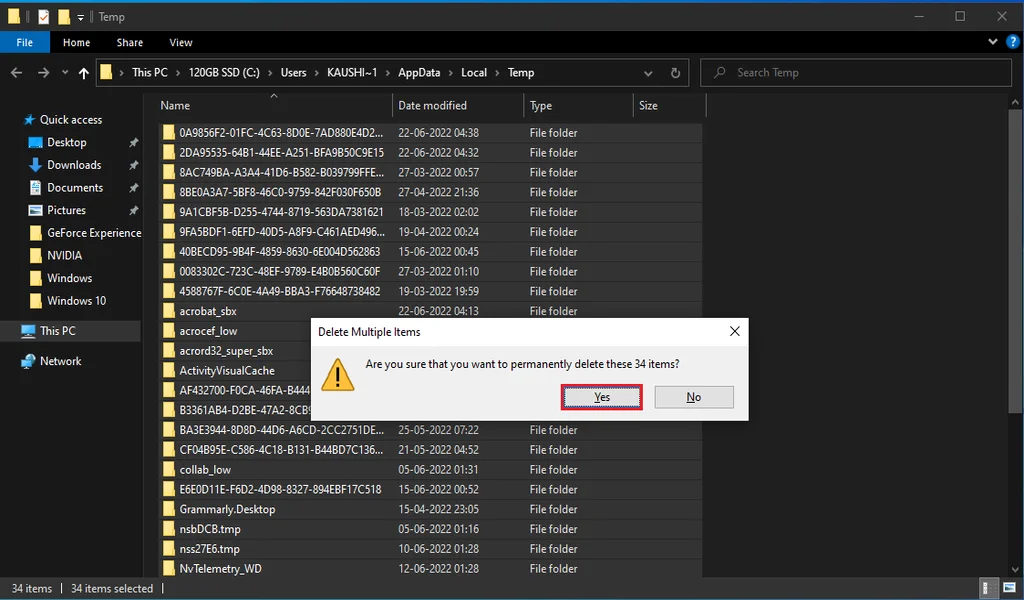
Step 3: Press Ctrl+A to select all files present inside the Temp folder. After that, press the Shift+Delete keys on your keyboard and click on Yes to remove them permanently from your PC.
If you are unable to delete some of these files from the Temp folder, leave them be as they are being used by certain applications running in the background.
4. Clear Microsoft Store Cache in Windows 10/11
If you encounter any issues while downloading applications and games from the Microsoft Store, one of the most effective ways to fix such a problem is by clearing out or resetting the cache for this application. Follow the steps listed down below:

Step 1: From the Home Screen, press the Windows+R keys on your keyboard to bring up the Run command window.
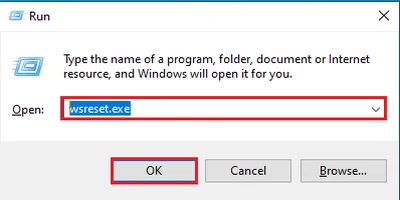
Step 2: Type wsreset.exe in the Run command window and hit Enter.

Step 3: A new command window will appear that initiates the Cache Removal process.

When the Cache Removal process is over, Microsoft Store will open and you should be able to download countless applications and games on your PC without a hitch!
5. Flush DNS Cache in Windows 10/11 using Command Prompt
If you’re experiencing intermittent network issues or having difficulties accessing specific websites from your web browser, it might be related to a corrupt local DNS cache. To flush out the DNS cache in Windows 10/11, follow the steps listed down below:
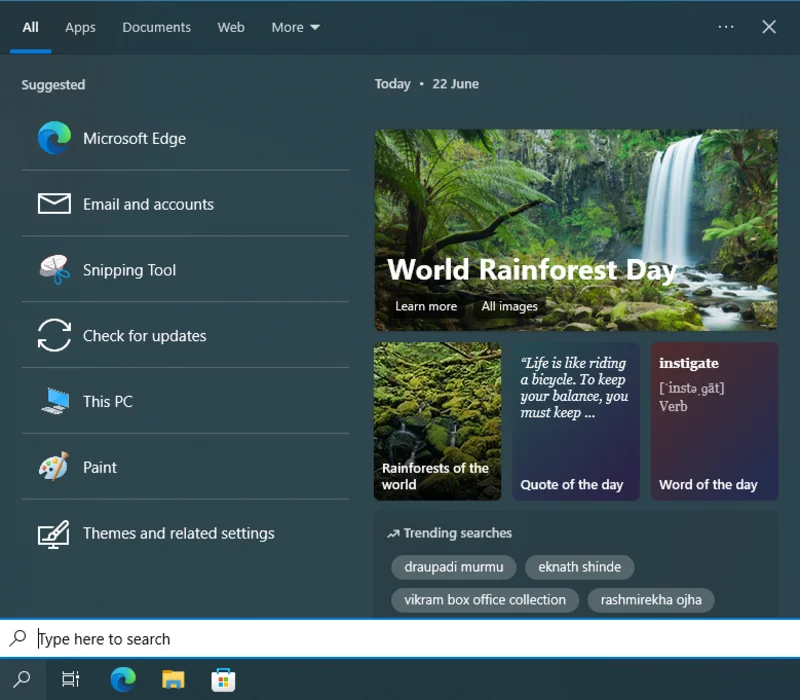
Step 1: From the Home Screen, click on the Search Bar or press the Windows+S keys on your keyboard.
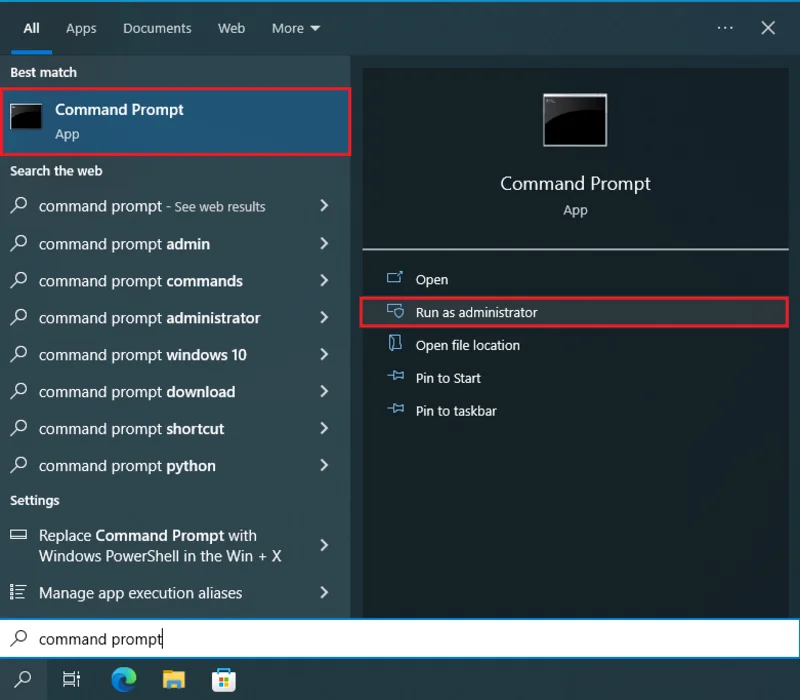
Step 2: Type command prompt in the Search Bar and click on Run as Administrator to open a new Command Prompt window with administrative privileges.
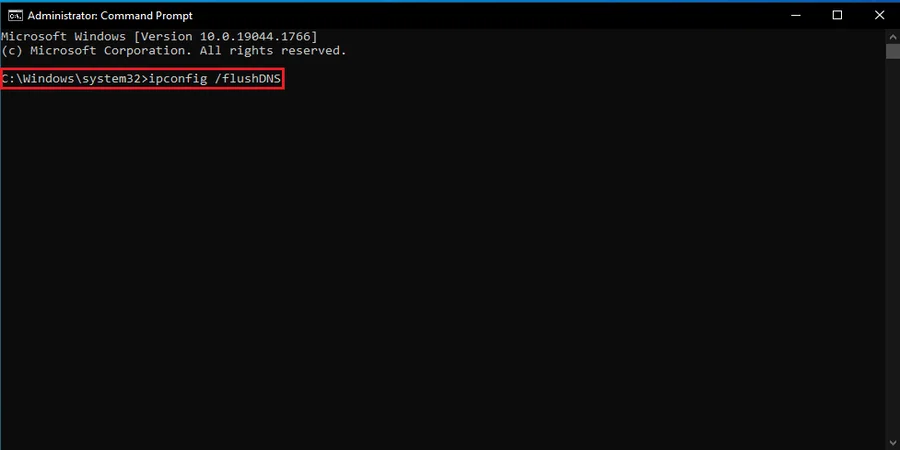
Step 3: Enter the following command inside the Command Prompt window:
ipconfig /flushDNS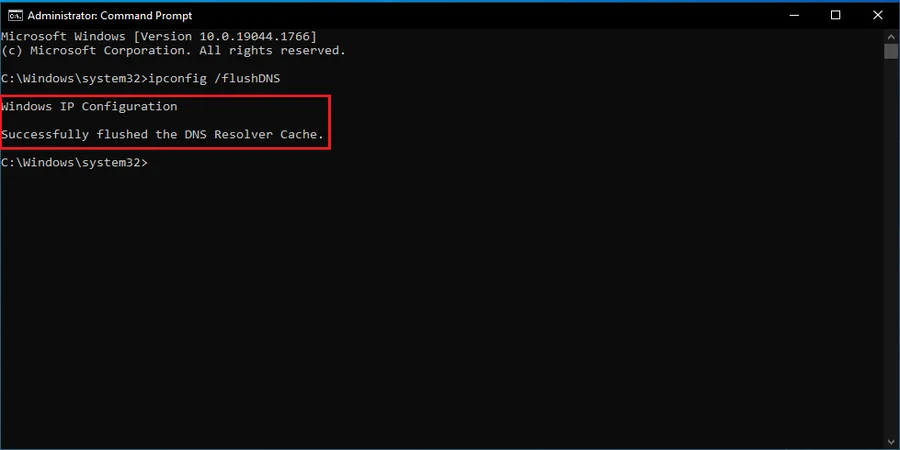
Hit Enter to finalize the changes. You should be able to see a new message under Windows IP Configuration that states, “Successfully flushed the DNS Resolver Cache”.
6. Clear Location Cache in Windows 10/11 from the Settings App
When you have the Location option enabled by default, several applications, and programs that make use of this service store recently viewed locations as cached files on your PC. At times, these files can get corrupted, hindering the overall functionality of this feature to a great extent.
To remove the entire Location History as well as the Location Cache in Windows 10/11, follow the steps listed down below:

Step 1: From the Home Screen, click on the Start button and then on Settings. Alternatively, press the Windows+I keys on your keyboard to open the Settings app.
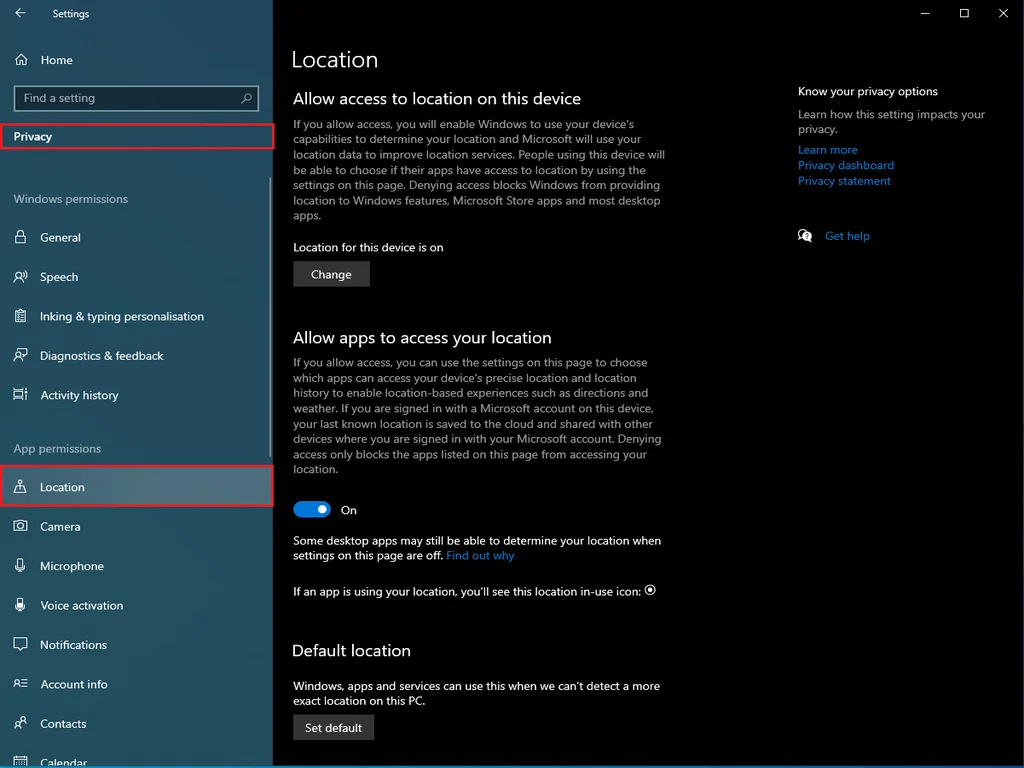
Step 2: Navigate to Privacy (Windows 10) or Privacy & Security (Windows 11) and click on Location.

Step 3: Scroll down a bit and look for an option titled Location history. Click on the Clear button beside that option to remove the Location Cache from your PC.
7. Clear File Explorer Cache in Windows 10/11
If you notice a significant increase in load times while searching for or accessing multiple files inside File Explorer, removing the File Explorer History will clear out the pre-existing cache and fix persistent issues with this application. To perform such an action in Windows 10/11, follow the steps listed down below:
Step 1: From the Taskbar, click on File Explorer or press the Windows+E keys on your keyboard.
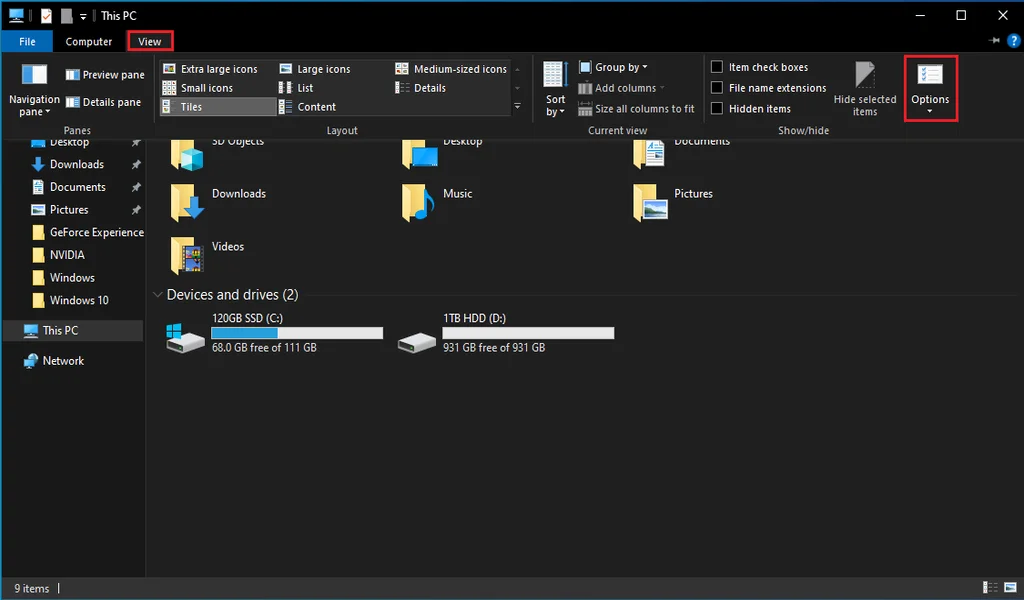
Step 2: Click on View and then on Options to open the Folder Options window.
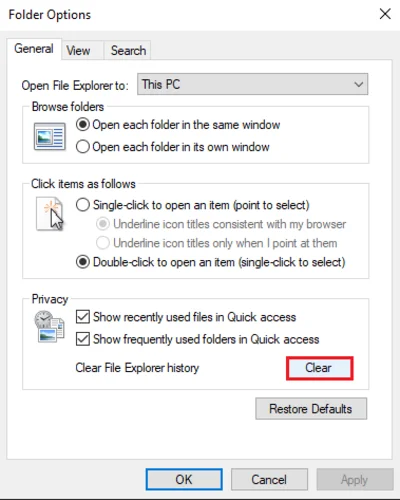
Step 3: Under the Privacy section, you’ll find an entry titled Clear File Explorer history. Click on the Clear button to remove all File Explorer Cache from your PC.
Additional Tip: Automatically Clear Cache and Temporary Files in Windows 10/11 using Storage Sense
Storage Sense is a built-in utility for Windows 10 and 11-based PCs that automatically removes cached data, temporary files, and stored items in the Recycle Bin. Furthermore, this feature works alongside One Drive to free up disk space by making unused local files online-ready whenever needed.
To enable Storage Sense from the Settings app, follow the steps listed down below:

Step 1: From the Home Screen, click on the Start button and then on Settings. Alternatively, press the Windows+I keys on your keyboard to open the Settings app.
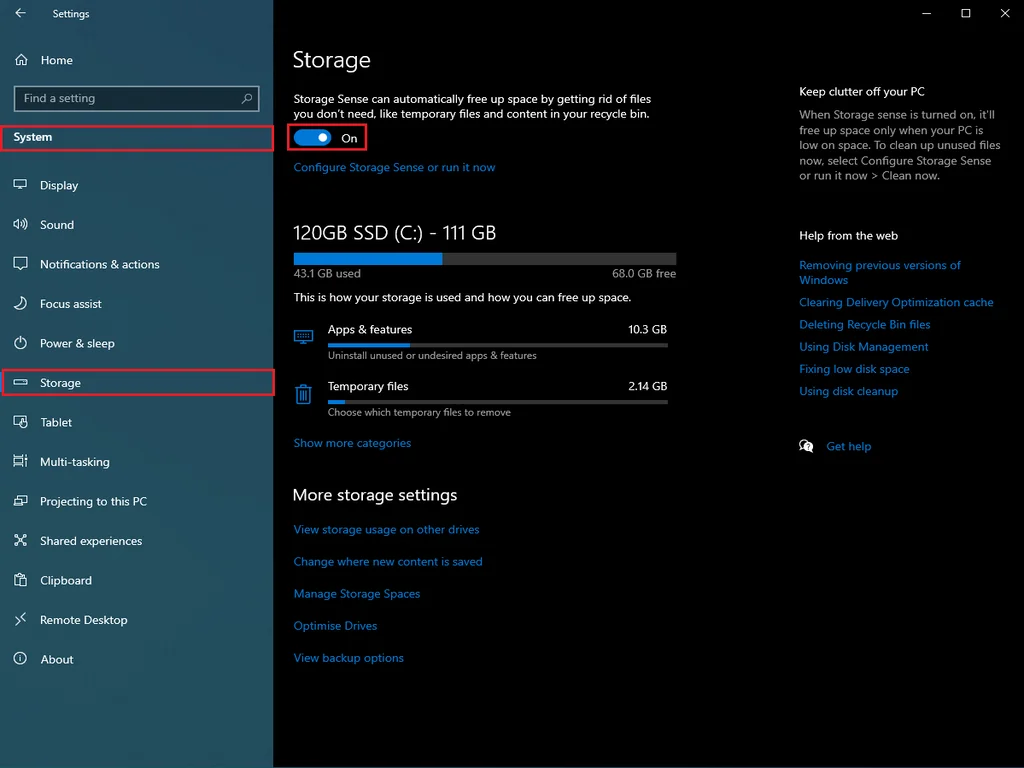
Step 2: Navigate to System>Storage and click on the toggle button next to Storage Sense to activate this feature.

Step 3: To configure distinct Storage Sense options in Windows 10, click on the entry titled, Configure Storage Sense or run it now. For Windows 11 users, click on Storage Sense to gain access to a wide variety of customization options.
Under Run Storage Sense (Windows 10) or Configure cleanup schedules (Windows 11), select Every month from the available list of options to regulate the clean-up process on a monthly basis.
By following the aforementioned methods, you will be able to clear out the various types of cache and temporary files in Windows 10/11 to improve processing speeds, prevent any unwanted errors, and even reclaim a substantial amount of disk space on your PC.
Hope you found this article helpful. For more definitive guides on the Windows Operating System, leave a comment down below.